2026-04-24
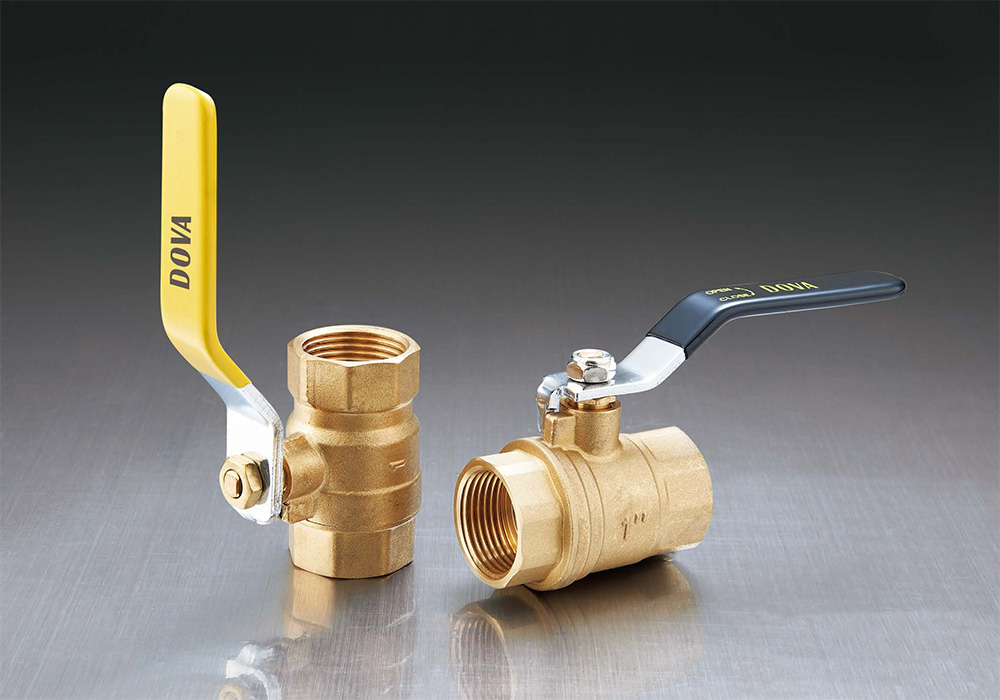
Manual wheelhead valves – These valves use a threaded spindle connected to a rubber or metal disc. Turning the handwheel raises or lowers the disc against the valve seat, regulating flow from fully closed (0% flow) to fully open (100% flow). They have no automatic temperature control. Closing torque is typically 2–5 Nm. Manual valves cost $5–15 each (wholesale). Suitable for systems where users manually adjust each radiator.
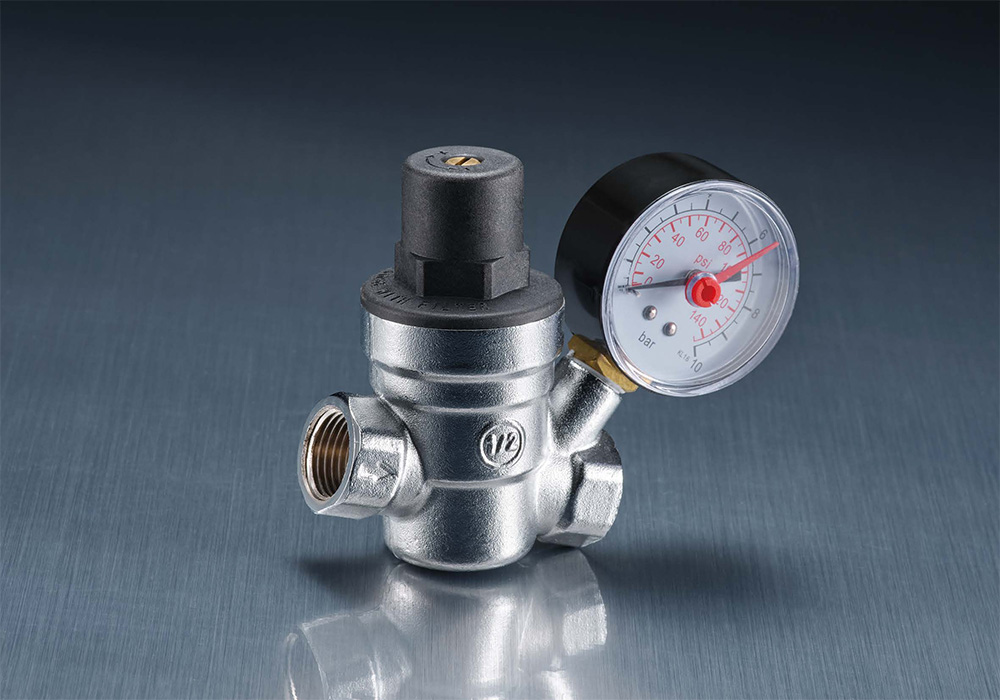
Thermostatic radiator valves (TRVs) – These contain a wax-filled or liquid-filled sensor head (temperature range 6–28°C). As the room temperature rises, the sensor expands, pushing a pin that gradually closes the valve. As the temperature falls, the sensor contracts, opening the valve. TRVs respond to temperature changes within 5–15 minutes. They do not require electrical power. A 1/2-inch TRV costs $15–40. Energy savings compared to manual valves range from 10–20% in residential heating systems, based on field studies.
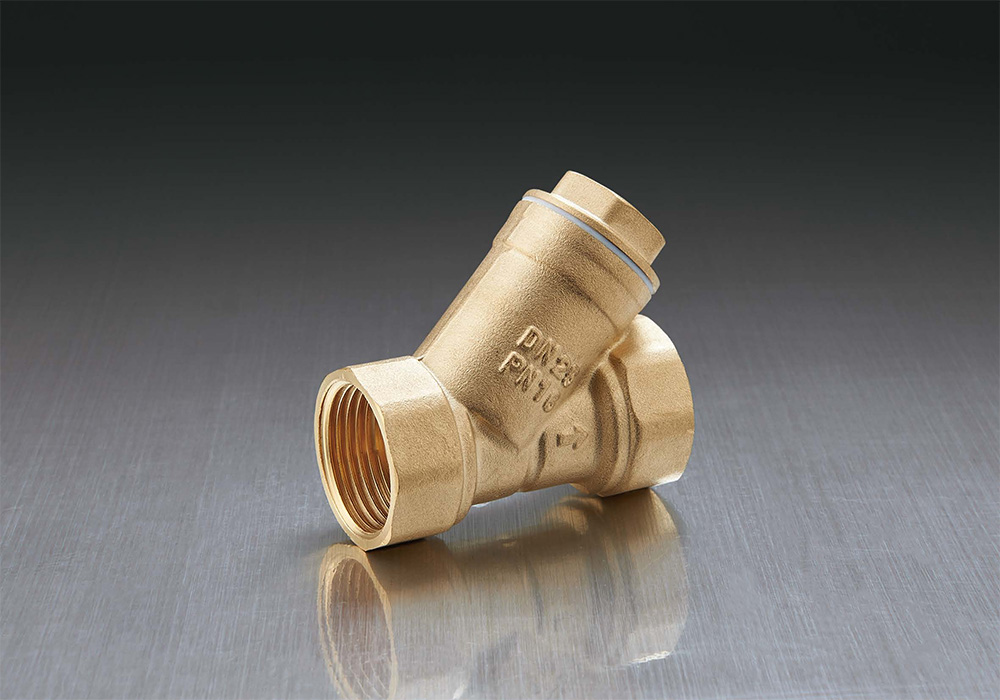
Lockshield valves – These are used on the return side of a radiator for system balancing. A plastic cap covers the spindle; the cap must be removed, and a spanner or Allen key must be used to adjust. Once set, the valve is not intended for daily user adjustment. Lockshield valves have no handwheel or temperature sensing.
Drain-off valves – A variant that includes a 1/2-inch or 3/4-inch hose connection point. Used for draining the radiator or system during maintenance. The drain port is sealed by a captive cap or a separate valve.
Comparison summary:
Manual wheelhead: User-controlled, low cost, no self-regulation
TRV: Automatic temperature control, moderate cost, requires unobstructed airflow around the sensor
Lockshield: Balance-only, no user adjustment, essential for system hydronics
Drain-off: Maintenance-only, not for daily operation
Failure mode 1: Stem seal leakage
A small amount of water seeps past the spindle (the moving part connected to the handwheel or TRV head). This appears as a drop of water on the valve body or a damp stain on the floor below. Cause: The O-ring or gland packing (typically EPDM or nitrile rubber) hardens or deforms after 5–10 years of thermal cycling (from 20°C room temperature to 80°C radiator temperature). For manual valves, tightening the gland nut (by 1/4 to 1/2 turn) compresses the packing and stops minor leaks. For TRVs, the entire valve body or the sealing cartridge requires replacement because the stem seal is not user-serviceable.
Failure mode 2: Valve seat debris accumulation
Black iron oxide particles or calcium carbonate deposits lodge between the disc and the seat, preventing full closure. The radiator remains warm even when the valve is turned fully off. This is common in older systems (15+ years) with cast-iron radiators or steel pipes. Solution: Remove the valve head (manual or TRV), fully open the valve, then rapidly close it several times to flush debris through. If this fails, the valve requires disassembly and cleaning or replacement. Debris-related leakage accounts for approximately 30% of service calls for radiator valves in systems without magnetic filters.
Failure mode 3: TRV sensor failure
The wax or liquid charge inside the sensor head escapes through a ruptured bellows (the metal accordion that expands and contracts). Symptoms: The valve stays fully open (room overheats) or fully closed (room stays cold) regardless of temperature setting. Test: Remove the TRV head. If the valve pin (a small metal rod protruding from the valve body) moves freely when pressed with a tool (2–3 mm travel) but the head does not actuate it, the sensor head is faulty. Replacement heads cost $10–25. Valve body (below the head) usually remains functional.
Factors favoring TRV installation:
Rooms with variable heat gains (sunny living rooms, kitchens with ovens, home offices with computers)
Bedrooms where users prefer different night-time temperatures (e.g., 16°C for sleeping vs. 20°C during the evening)
Heating systems with a fixed boiler flow temperature (no outdoor reset control)
Rooms that overheat due to heat from adjacent spaces (e.g., an internal bathroom warmed by neighboring rooms)
Factors favoring manual valve installation:
Rooms requiring constant temperature (e.g., a nursery where 20°C is maintained 24 hours)
Radiators in the same room as the main room thermostat (TRVs should not be fitted in that room because the room thermostat already controls temperature)
Systems with low water temperatures (below 40°C, such as heat pumps). Some TRVs require a minimum differential temperature (typically 10–15°C between flow and return) to operate correctly.
Annual exercise routine (for both manual valves and TRVs)
Fully open and fully close each valve twice per year (before heating season and after heating season). This prevents the valve disc from sticking to the seat and keeps the spindle seal lubricated. For TRVs, remove the sensor head and manually press the valve pin 5–10 times using pliers (gentle pressure, 2–3 mm travel). If the pin does not return to its extended position, the valve requires replacement.
Leak testing after system refill
After draining and refilling the heating system, pressurize to normal operating pressure (1–2 bar for residential systems, up to 4 bar for commercial). Wait 30 minutes. Inspect each valve connection: (a) thread between valve and radiator tail, (b) thread between valve and supply pipe, (c) stem seal (spindle exit point). Use a dry paper towel to wipe each area; any green or brown stain indicates a leak. Tighten compression fittings by 1/8 to 1/4 turn. For threaded joints, drain the system, disassemble, apply fresh PTFE tape (5–7 wraps), and reassemble.
Valve pin freeing procedure for stuck TRVs
A TRV pin stuck in the closed position (room never heats) can sometimes be freed without replacement. Remove the TRV head. Spray a penetrating oil (WD-40 or equivalent) onto the pin base. Use pliers to gently pull the pin outward (not push inward). Rotate the pin slightly (5–10 degrees) while pulling. Work the pin in and out 10–20 times. Wipe excess oil. Replace the TRV head. This procedure succeeds in approximately 60–70% of cases. If the pin remains stuck after 2 attempts, replace the valve body.
Lifespan expectations
Manual brass valve (wheelhead): 15–25 years in closed-loop heating systems with treated water
TRV body (below the head): Same lifespan as manual valve (15–25 years)
TRV sensor head (wax or liquid type): 8–12 years, after which the charge depletes or the bellows fatigues
Lockshield valve: Indefinite (no moving seals exposed to wear) if not adjusted repeatedly
Replacement indicators summary:
Valve body: Visible green corrosion (dezincification), cracks, or threads stripped beyond 50% engagement
Stem seal: Leak continues after gland nut tightening (manual valves) or seal is non-replaceable (TRVs)
TRV head: No movement of the pin when the temperature changes by more than 10°C over 1 hour
Manual wheelhead: Spindle turns with no resistance (stripped threads) or turns, but radiator remains cold (disc detached from spindle)
Copyright © Zhejiang Jiafu HVAC Co., Ltd. All Rights Reserved.

 English
 русский